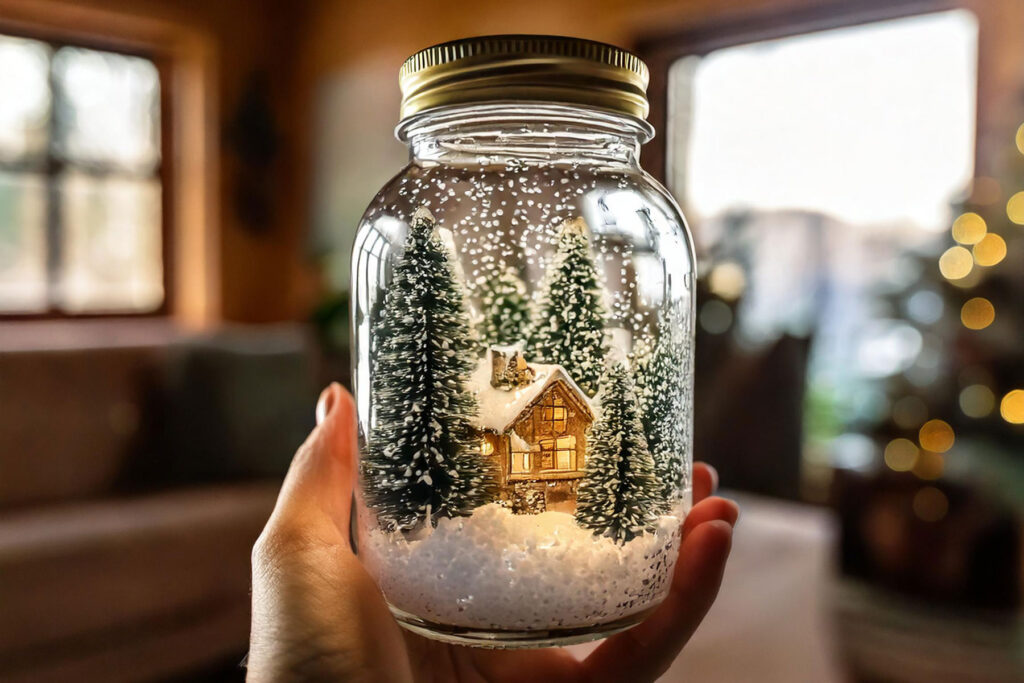
Magical DIY Mason Jar Snow Globes: Winter Wonder in a Jar
Ready to add a sprinkle of magic to your home decor? Let’s dive into the enchanting world of DIY mason jar snow globes. These little wonders are not just adorable; they’re a fun way to capture the essence of winter right on your shelf. So, grab your hot cocoa, and let’s get crafting!
Why Mason Jar Snow Globes are the Cool Kids of Winter Decor
Picture this: a miniature winter wonderland that fits in the palm of your hand. That’s the charm of DIY mason jar snow globes. They’re like bottled-up blizzards, minus the frostbite! Perfect for brightening up those gloomy winter days or adding a touch of whimsy to your holiday decorations.
Gathering Your Snow Globe Supplies
Before we jump into the how-to, let’s round up our supplies. Here’s what you’ll need to create your very own winter in a jar:
- Mason jars (clean and dry)
- Distilled water
- Glycerin or clear liquid soap
- Glitter (the finer, the better for that snow-like effect)
- Small waterproof figurines or ornaments
- Strong glue (waterproof epoxy works best)
- Optional: Fake snow
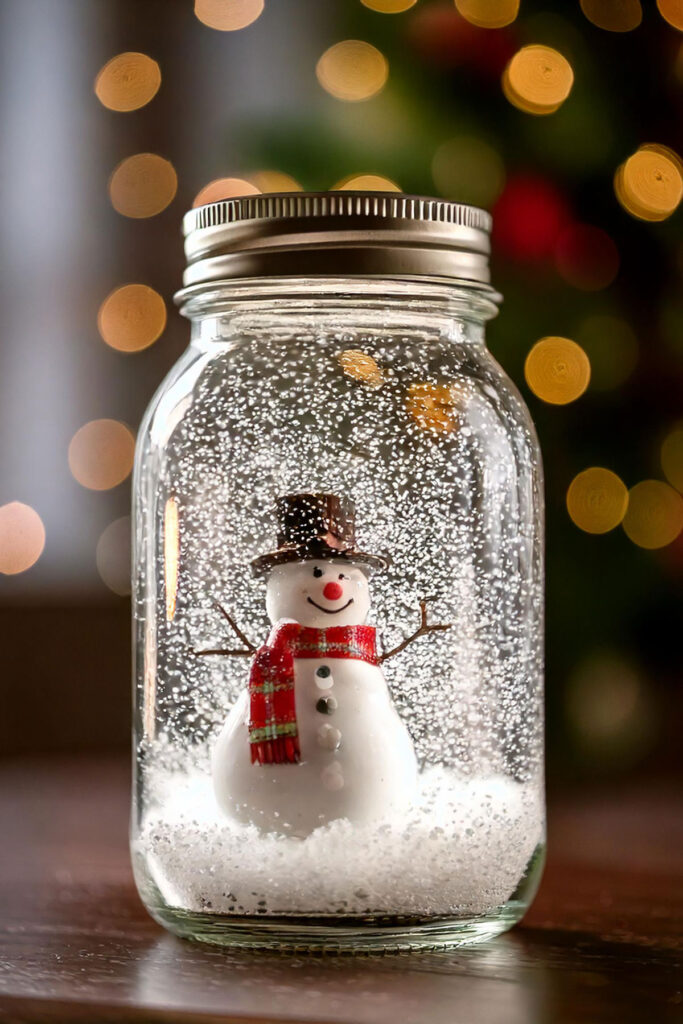
Pro tip: Choose figurines that make you smile. Whether it’s a tiny snowman, a miniature pine tree, or even a dinosaur wearing a Santa hat (because why not?), pick something that sparks joy!
Creating Your Winter Wonderland: Step-by-Step Guide
Step 1: Set the Scene
- Take the lid of your mason jar and place it upside down.
- Arrange your chosen figurines on the inside of the lid.
- Once you’re happy with the placement, glue them down with your waterproof epoxy.
- Let it dry completely. Patience is key here – we don’t want any floating Santas!
Step 2: Make It Snow
- Fill your mason jar almost to the top with distilled water.
- Add a few drops of glycerin or clear liquid soap. This is the secret to making your “snow” fall slowly and gracefully.
- Sprinkle in your glitter. Start with a little – you can always add more if needed.
- If you’re using fake snow, add a pinch now.
Step 3: Seal the Deal
- Once your figurines are completely dry, carefully screw the lid onto the jar.
- Tighten it well, then give it a test shake.
- If you’re happy with how it looks, you can add a bead of glue around the rim for extra security.
Voila! You’ve just created your very own DIY mason jar snow globe. Give it a shake and watch the magic happen!
Customizing Your DIY Mason Jar Snow Globes
The best part about making your own snow globes? You’re the boss of this mini winter world! Here are some fun ideas to make your DIY mason jar snow globes uniquely yours:
Theme It Up
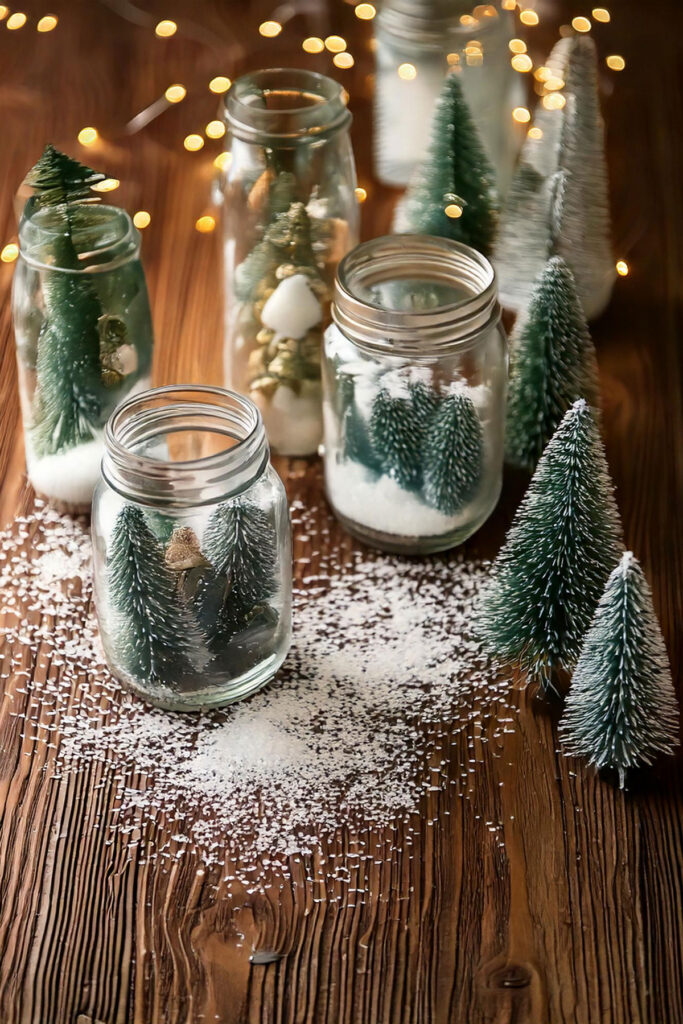
- Winter Wonderland: Think snowmen, pine trees, and maybe a tiny cabin.
- Holiday Cheer: Mini Christmas trees, presents, and a teeny-tiny Santa.
- Woodland Magic: Forest animals, toadstools, and a dusting of snow.
- Under the Sea: Who says snow globes can’t be underwater scenes?
Color Your World
Don’t feel bound by traditional white “snow.” Try:
- Gold or silver glitter for a glamorous touch
- Blue-tinted water for an icy effect
- Pink glitter for a whimsical, cotton-candy winter
Size Matters
Experiment with different jar sizes:
- Tiny jars make cute ornaments or gift toppers.
- Large jars can become stunning centerpieces.
- A set of various sizes creates an eye-catching display.
Troubleshooting Your Snowy Creations
Even the craftiest among us can hit a snag. Here are some common DIY mason jar snow globe hiccups and how to fix them:
Cloudy Water
If your winter wonderland looks more like a foggy day, try these fixes:
- Use distilled water instead of tap water.
- Make sure your jar and figurines are squeaky clean before assembly.
- Let the glue dry completely before adding water.
Floating Decorations
Nothing ruins the illusion like a swimming snowman. To keep everything grounded:
- Use a strong, waterproof epoxy.
- Allow plenty of drying time before adding water.
- Roughen up the bottom of your figurines slightly for better adhesion.
Snow That Falls Too Fast
Want your snow to float gracefully? Here’s the trick:
- Add more glycerin or liquid soap.
- Use finer glitter or specialty snow globe “snow.”
Gifting Your DIY Mason Jar Snow Globes
These little jars of joy make perfect gifts! Here are some ideas to make your DIY mason jar snow globes gift-ready:
- Personalize It: Create a snow globe scene that matches the recipient’s interests.
- Dress It Up: Tie a ribbon around the jar’s neck or add a gift tag.
- Make It a Set: Create a trio of themed globes for a more substantial gift.

Displaying Your Wintry Creations
Now that you’ve mastered the art of DIY mason jar snow globes, it’s time to show them off! Here are some display ideas:
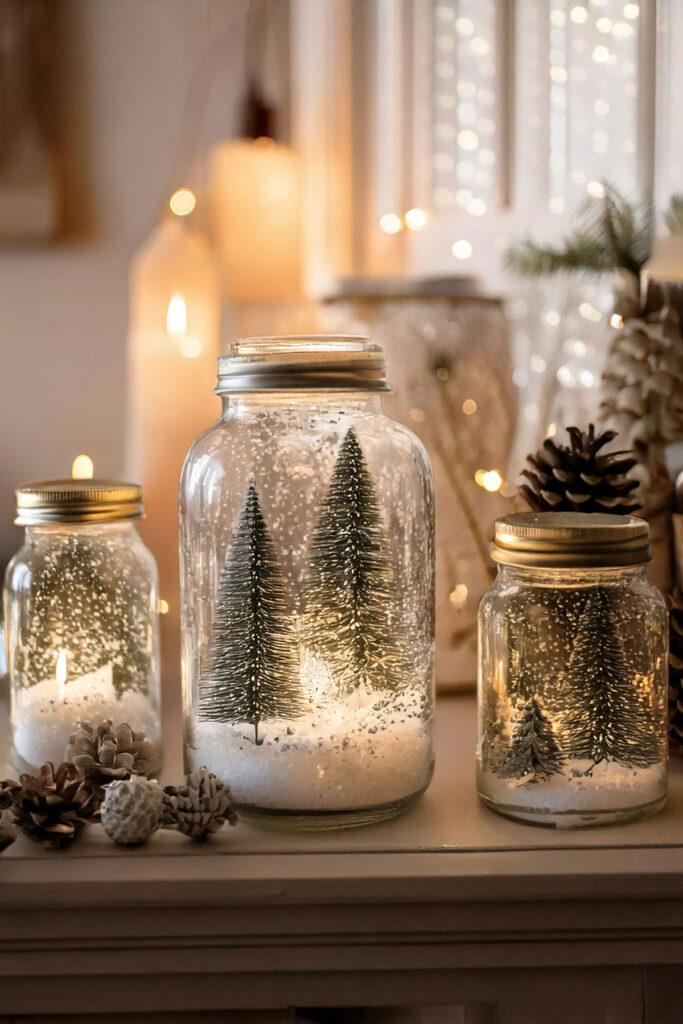
- Mantel Magic: Line them up on your fireplace mantel for a whimsical winter scene.
- Window Wonders: Place them on a windowsill to catch the light.
- Tabletop Treasures: Use them as unique centerpieces for your holiday table.
- Shelf Showcase: Mix them in with your regular decor for unexpected pops of winter cheer.
Caring for Your DIY Mason Jar Snow Globes
To keep your mini winter wonderlands looking their best:
- Store them in a cool, dry place when not in use.
- Avoid direct sunlight, which can fade your creations.
- Give them a gentle shake now and then to prevent settling.
Ready to unleash your inner craftiness? Dive into our treasure trove of DIY delights! From quick afternoon projects to weekend wonders, we’ve got a crafty adventure waiting just for you. Click here to explore our DIY Projects Page and let the making begin!
Wrapping Up Our Snowy Adventure
There you have it, folks – your guide to creating magical DIY mason jar snow globes! These little jars of joy are more than just decorations; they’re tiny worlds of wonder that you’ve crafted with your own hands. Whether you’re making them for yourself or as gifts, each snow globe is a unique piece of winter magic.
So, what are you waiting for? Grab those jars, unleash your creativity, and start shaking up some winter fun. Who knows? Your DIY mason jar snow globes might just become your new favorite winter tradition. Happy crafting, and may your days be merry, bright, and full of miniature snowy delights!