Cookies for Santa Plate: SVG Tutorial for a Magical Christmas Eve
Create magic with a DIY Cookies for Santa SVG Plate Design. Make enchanting moments for Santa’s treats!
I’ll never forget the year that my brother and I heard Santa downstairs. I was probably about 8 or 9 which would make it wayyyyy back in the early ’90s. Holy cow am I dating myself right now!
Anyways, the exact memory is a little foggy, but it was super early on Christmas morning and my brother and I were plotting how to sneak up on Santa.
THEN, all of a sudden we heard music from one of my mom’s twist-up Christmas trinkets. I’m pretty sure we debated for at least 10 minutes who would venture downstairs to catch Santa playing with our home decor.
In the end, we both tip-toed (or so we thought) down the stairs and discovered that all of the Christmas cookies and milk we had left ol’ St. Nick were gone!
Needless to say, ever since then I’ve always kept out a plate of Christmas cookies for Mr. Santa. And let me tell you, every year they always magically disappear by the time the sun rises up. 😉
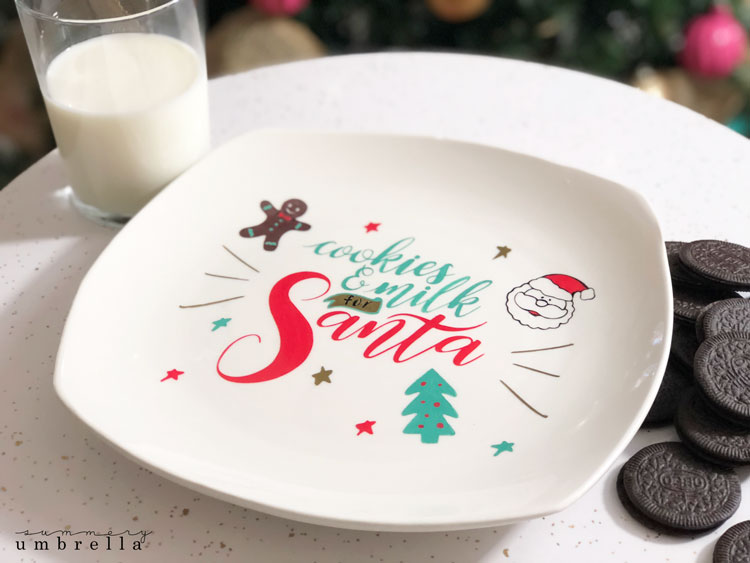
So, this year I thought it would be extra special to dedicate a plate to this jolly ol’ man, and decided to create this DIY Cookies for Santa Plate for this joyous occasion.
Want this design? Sign up for my newsletter to get your FREE Cookies for Santa SVG. Make Santa’s treats magical with your personalized plate!
Thankfully it’s a super easy project so let’s get started!
DIY Cookies for Santa Plate
Tools and Supplies
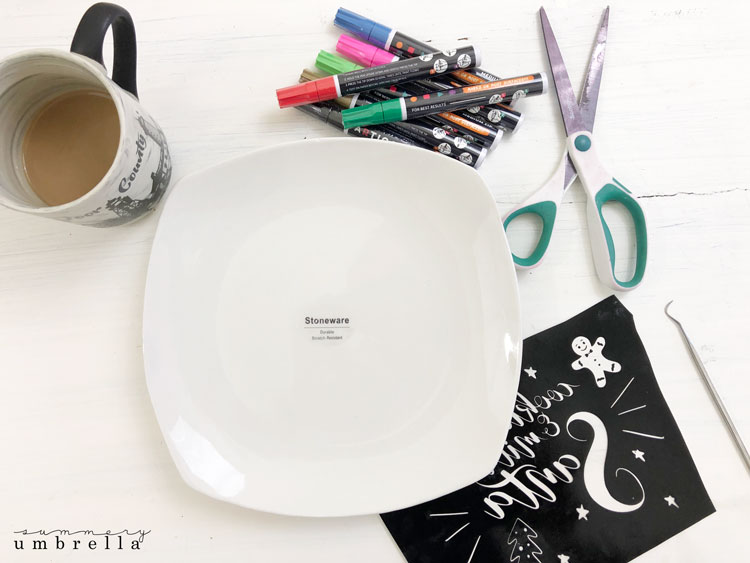
- 1 – White (Oven Safe) Plate
- Quick Dry Paint Pens
- Silhouette CAMEO and Mat
- Vinyl
- Transfer Tape
- Squeegee (or a Credit Card)
- Scissors
- Cookies for Santa Template (sign up for the newsletter above to receive for FREE!)
Instructions
1. Clean your plate.
First things first, start by cleaning off your plate. You just never know what might be on it, and it’s better to be safe rather than sorry.
2. Cut out the Cookies for Santa SVG.
Using your cutting machine you’ll want to cut out the Cookies for Santa SVG template with your vinyl on your mat. My machine of choice is the Silhouette CAMEO (see this tutorial if you need help), but it could just as easily be done with the cutting machine of your choice.
3. Apply your transfer tape.
Once the Cookies for Santa SVG has been successfully cut out on your vinyl remove it from your mat, and apply your transfer tape.
4. Remove vinyl backing.
Now, remove the backing from your vinyl, and carefully take out the vinyl pieces of your design that you will be painting on your plate.
5. Apply your vinyl stencil to your plate.
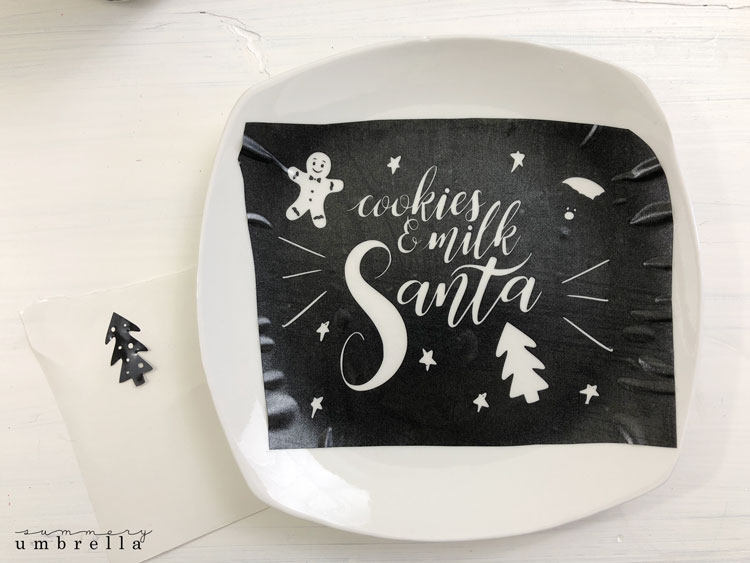
Once you have removed all your vinyl pieces it is now time to apply your Cookies for Santa stencil to your clean plate.
This part may be a little tricky! Just remember to take your time and slowly start from the top of your plate to line up your stencil evenly. Then using your squeegee, firmly push it down.
6. Remove your transfer tape.
Next, slowly remove your transfer tape so that only your vinyl is left on your plate.
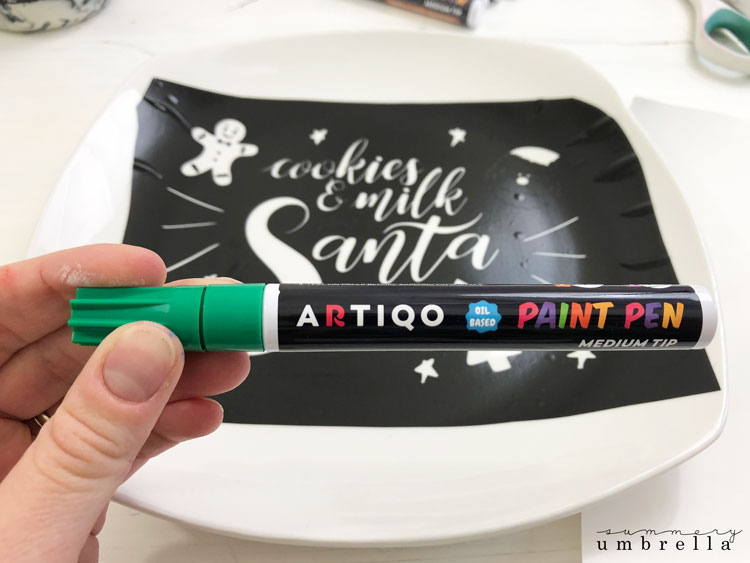
7. Paint in your stencil.
Now it’s time for the fun part of the project–painting!
Just remember, you don’t have to use the color scheme that I picked out. Use whatever colors you’d like and have fun with this project!
Note: Make sure to read and follow the directions for whatever paint pen you have decided to use. You don’t want the paint to come out too quickly and create a mess!
VIDEO TUTORIAL: How to Use a Paint Pen
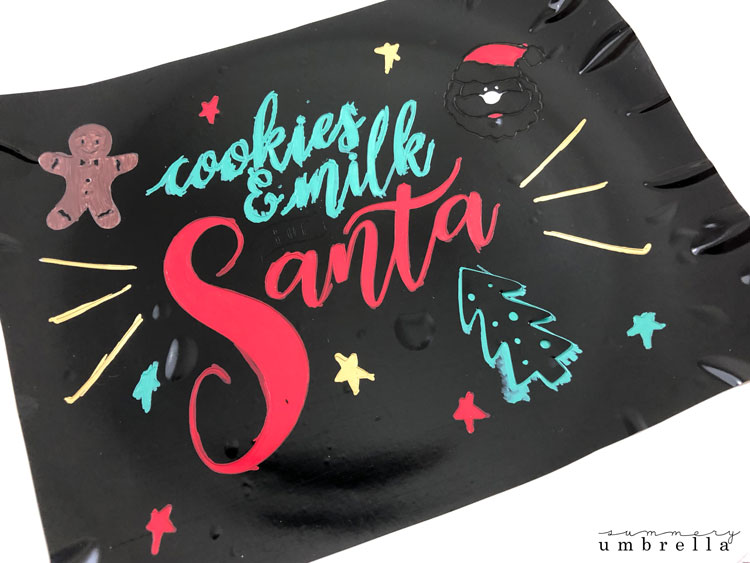
8. Pull off your vinyl.
After you’ve finished painting in your stencil go ahead and remove the vinyl carefully. Thankfully this particular brand of paint pens dries super fast so no waiting involved!
9. Touch up your plate.
Then, touch up any places on your plate that need a few extra painted details or even a new color.
10. Bake.
Last, but not least, let your Cookies for Santa plate dry for 24 hours, and then pop it in your oven at 300 degrees for 30 minutes.
Let your plate cool off, and then show it off!
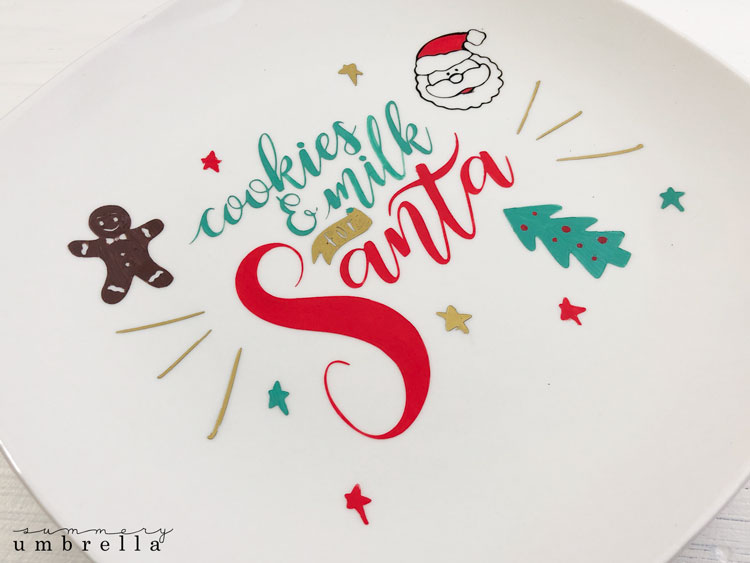
Isn’t it too cute?! It just makes me heart soar like a little kid at Christmas!
NOTE: While you “can” put this decorated plate in the dishwasher I would highly recommend not to do so. I recently made a few of them and “forgot” to hand wash… ugh.
I should have just hand-washed them!
Feeling Creative? Explore our full collection of DIY projects for more inspiring ideas! Browse Projects →
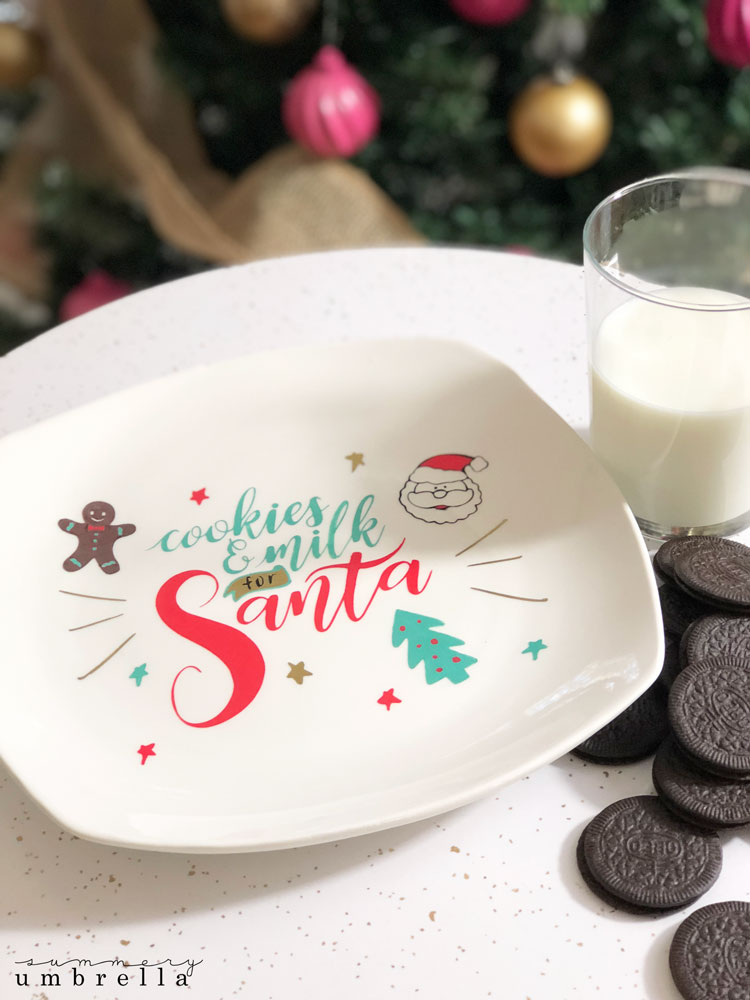
Time to Make Santa’s Cookie Rounds a Little More Merry!
And there you have it! Your very own magical Cookies for Santa plate that’ll make those midnight cookie deliveries extra special. Just imagine the twinkle in your little ones’ eyes when they place those snickerdoodles on a plate they helped decorate. Sure, the big guy in red has seen millions of cookies over the centuries, but I bet he does a double-take when he spots your handcrafted masterpiece! Don’t forget to snap a picture of your creation (and maybe leave an extra cookie or two for good measure – I hear North Pole deliveries work up quite an appetite). Until next time, keep crafting and spreading that holiday sparkle!
P.S. If Santa leaves crumbs on your beautiful creation, consider it his seal of approval!
More of What You Love: Check Out These Recommended Posts!
- DIY Art for Beginners: Simple Stunning Projects
- Magical DIY Mason Jar Snow Globes: Winter Wonder in a Jar
- Get Creative with Winter Decor: How to Make a DIY Vintage Snowflake Sign
- Must-Have Best Art Supplies for DIY Creative Projects
- Create Your Own DIY Vintage Sled
- Easy Merry Christmas Ornament Signs