Get Inspired With Nature in this Botanical Illustrations Tutorial
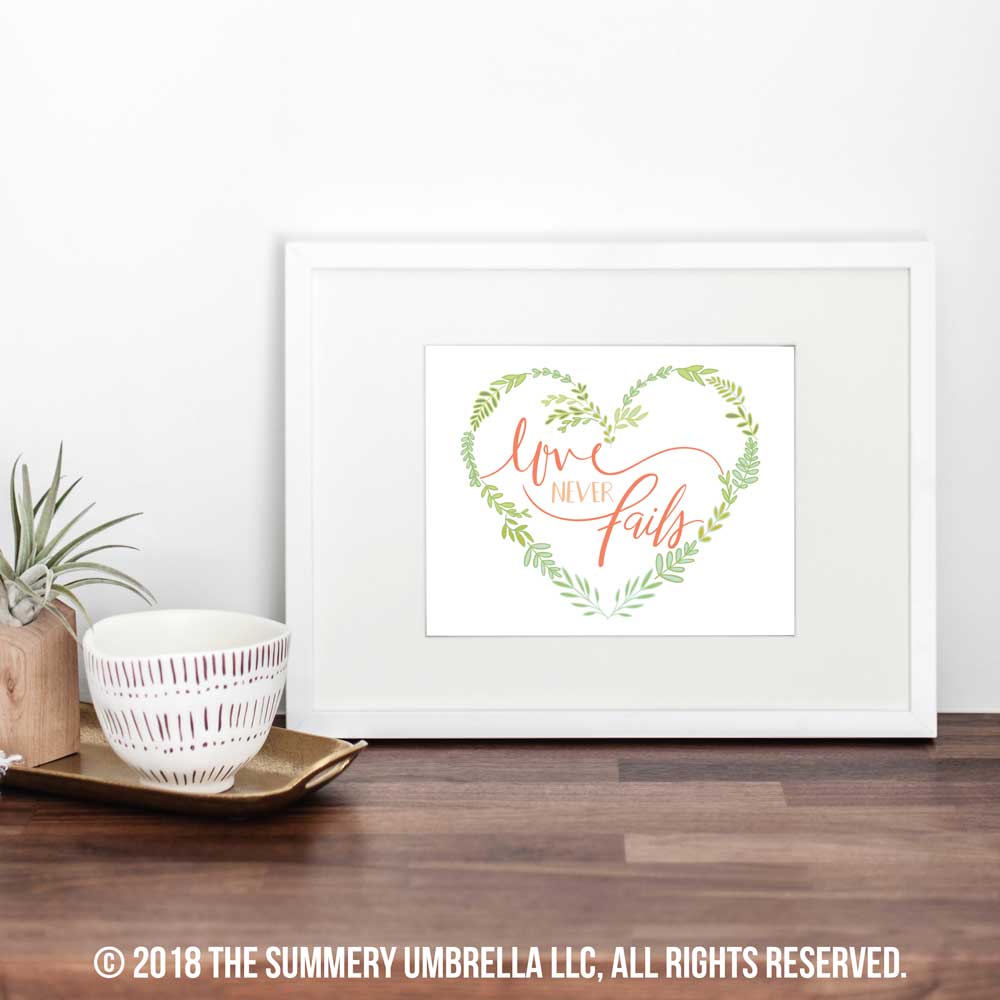
Are you a self-proclaimed plant lady that loves to draw? Learn how to digitally paint botanical illustrations with this fun and playful Procreate demonstration!
Short on time? Pin it for later!
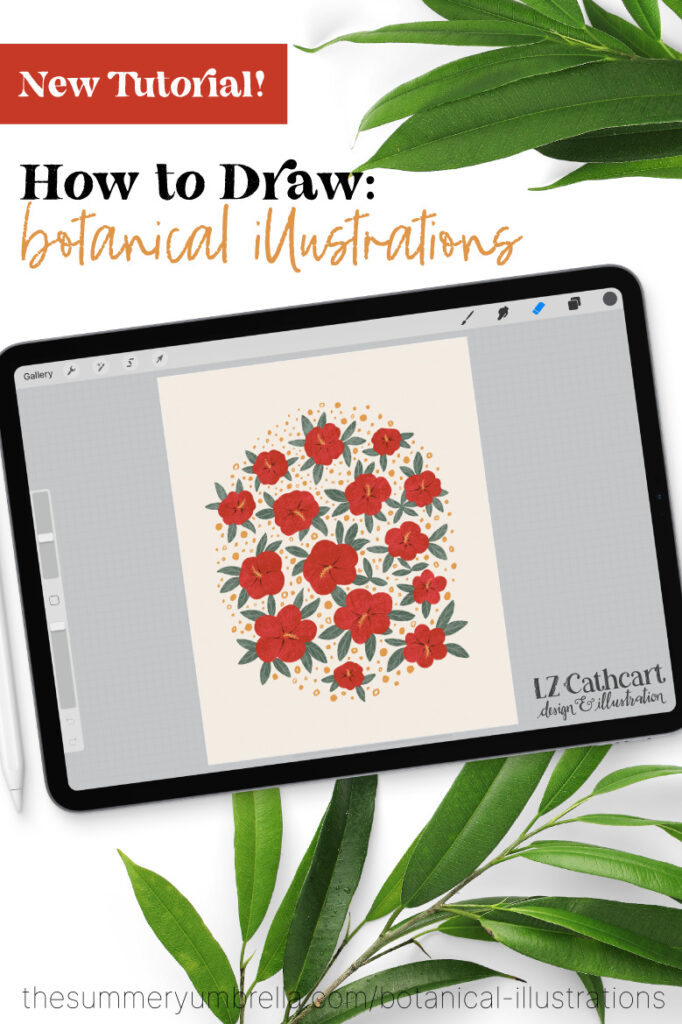
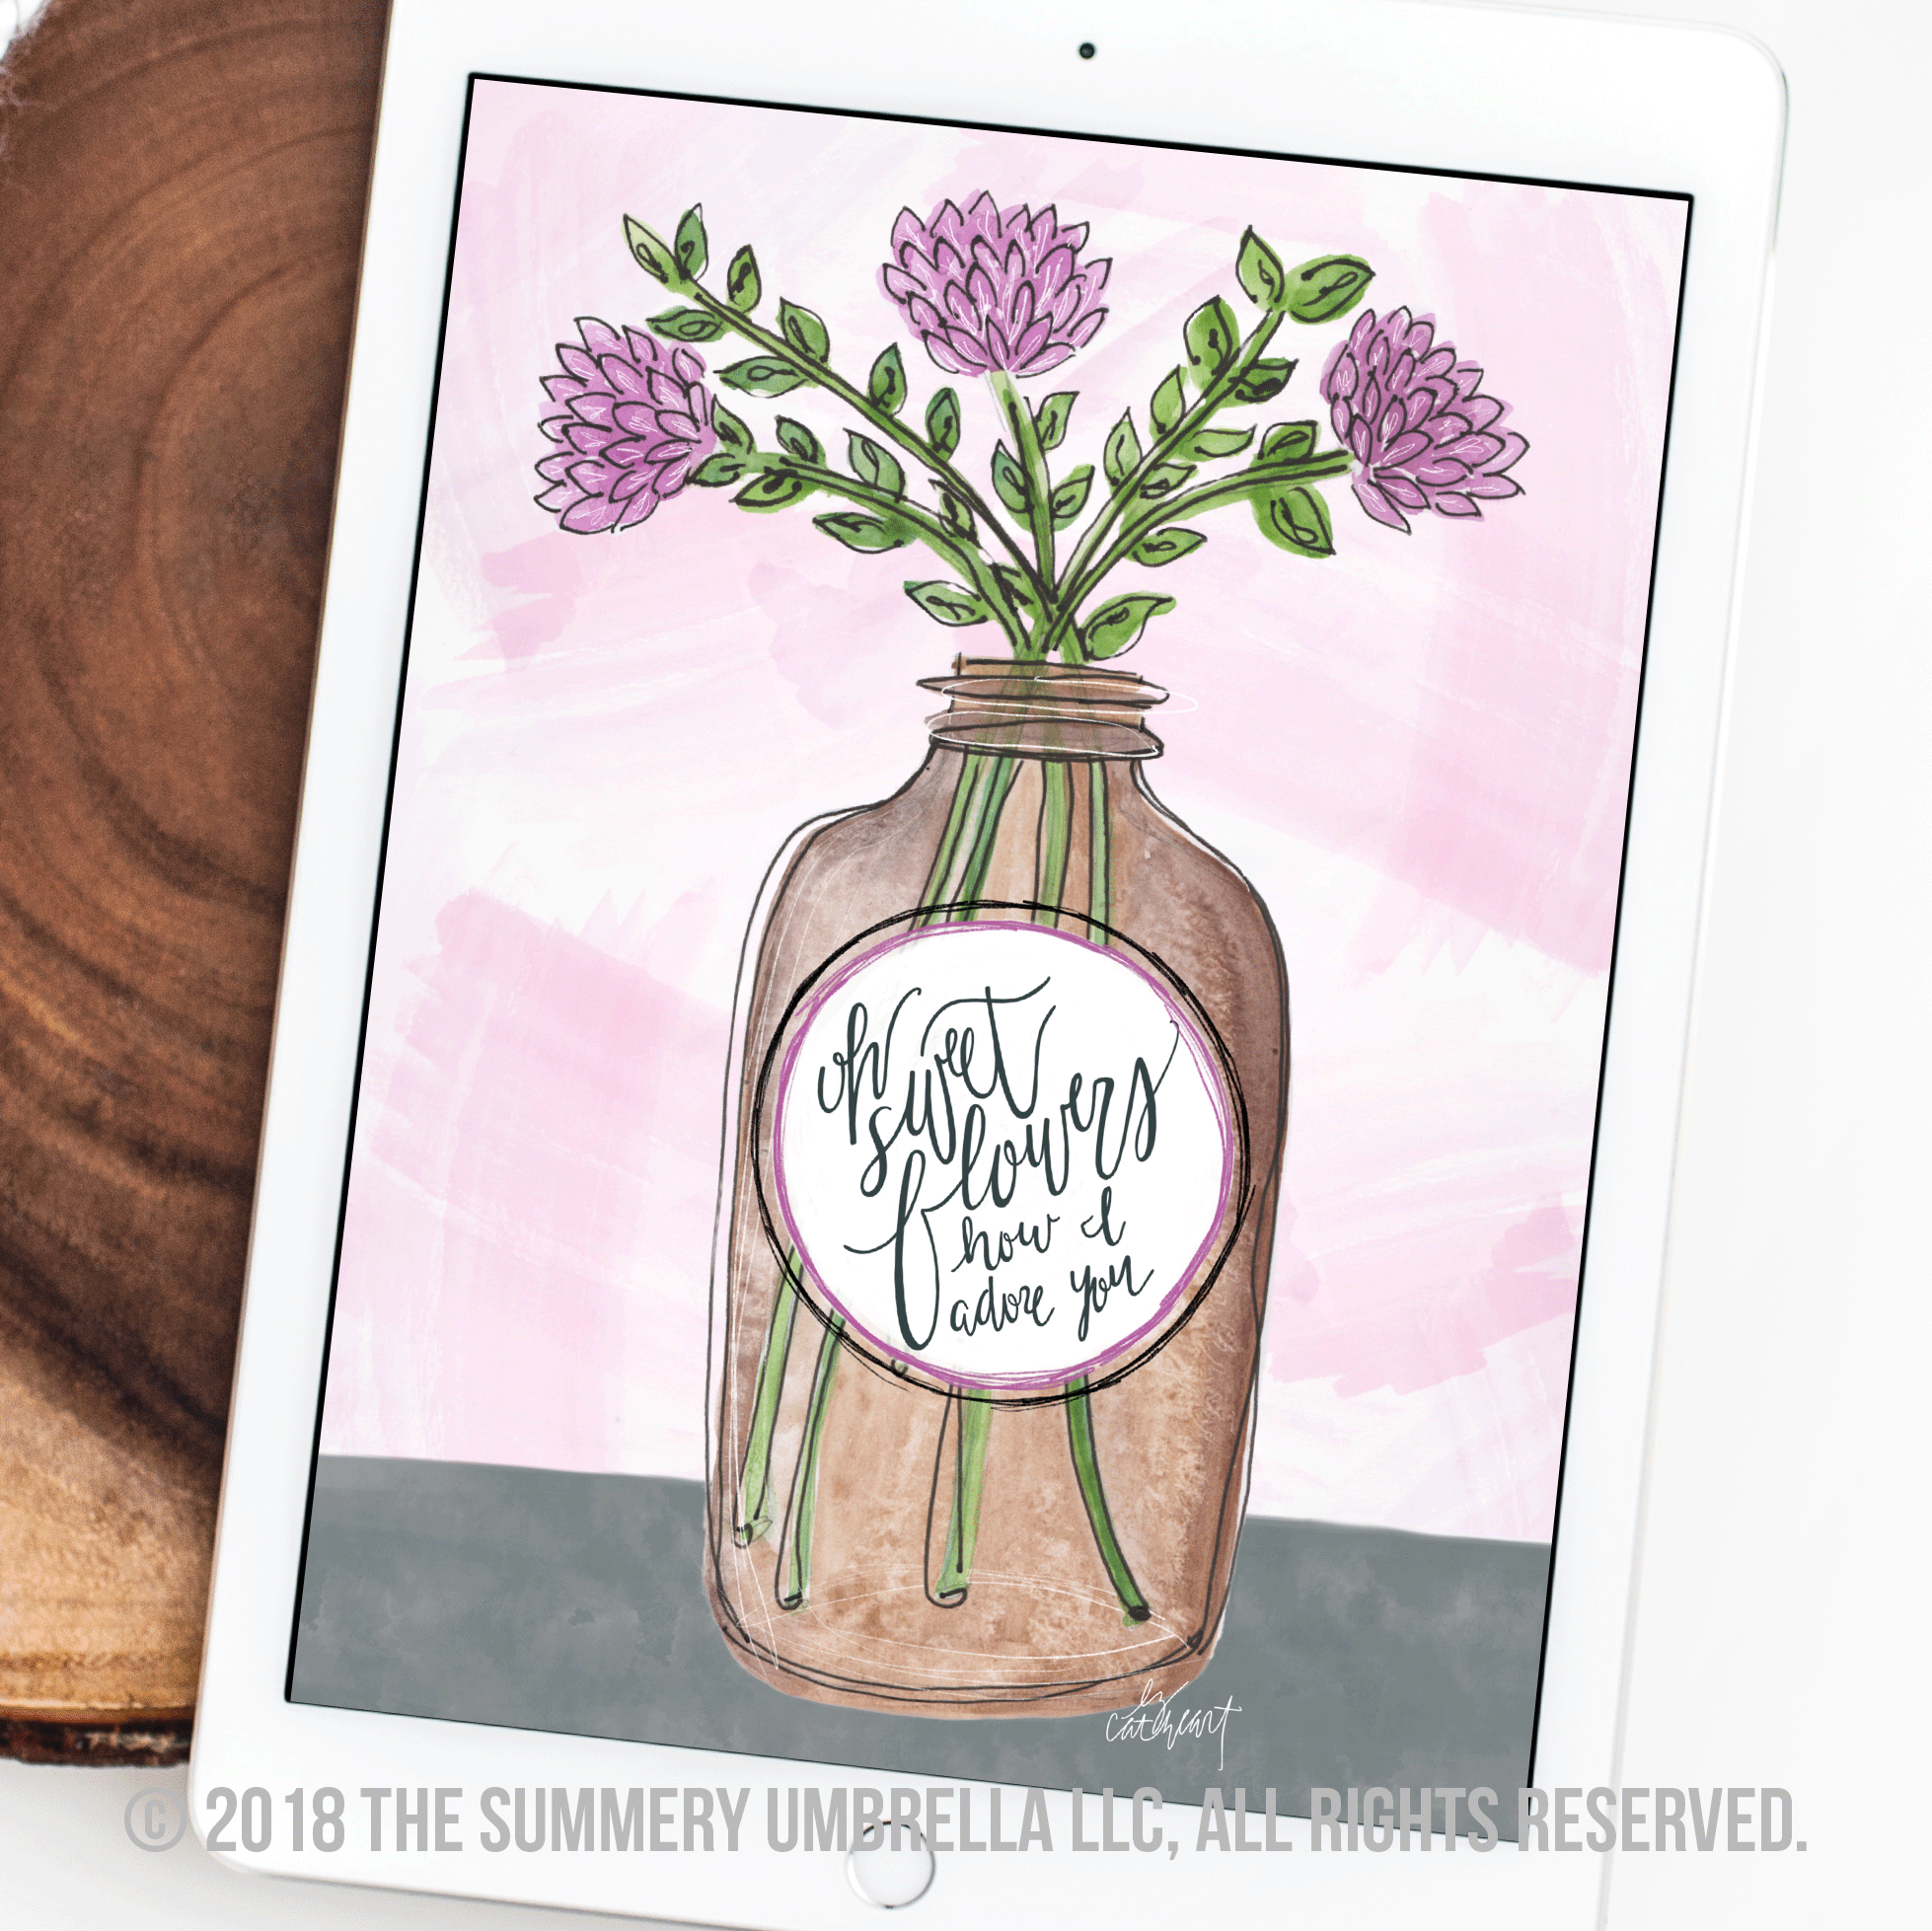
How to Draw: Botanical Illustrations in Procreate
In this tutorial, I’ll be using two of my favorite brushes and a customized color palette that is completely free of charge to you. All links, hardware, and a written tutorial can be found below the video.
This post may contain affiliate links. Please see our full disclosure policy for details.
Mentioned and/or used in this video
- Color Palette (free)
- Fancy Finesse Brush (Created by Miss Meyer)
- Artist Crayon Brush (Procreate brush)
- 6B Pencil Brush (Procreate brush)
- iPad Pro (3rd generation, 11″, 256GB)
- Apple Pencil (2nd generation)
- Paperfeel/Matte Glass Screen Protector
- iPad Case
Want access to all of my freebies? Sign up for access to my resource library below.
Botanical Illustrations: Written Tutorial
Open Procreate and draw flowers
- Open your Procreate app, create a new canvas, and start by sketching out circles for your hibiscus flower placement.
- On a new layer, sketch out your hibiscus flowers.
Add Leaves
- Turn down the opacity on your hibiscus flowers layer and create a new layer to sketch out your leaves.
- Turn down the opacity on your leaves layer, and create a new layer using the Fancy Finesse Brush draw and color in your leaves.
- Create another layer and draw and color in your hibiscus flowers.
- Turn off your sketched-out layers.
create clipping masks
- Add a new layer above your hibiscus flowers layer, click on the clipping mask, and use your Artist Crayon Brush with a different color to add texture.
- Repeat the above step with your leaves layer.
- Create another layer above your leaves clipping mask layer and also turn on the clipping mask. Go back to your 6B Pencil Brush and add leaf veins with a new color.
- Turn your sketched-out hibiscus flower layer back on, add a new layer above the hibiscus flower clipping mask, change back to your 6B Pencil Brush, and draw in details for your hibiscus petals.
Add Stamens
- Add a new layer for your stamens, select the new color, and draw them in.
- For more texture around your leaves and flowers click on the eraser tool and use the 6B Pencil Brush to gently erase the lines around these items.
add dots or decorations
- Add a new layer and draw a variety of sizes of dots in and around your botanical illustrations.
- On a new layer draw an oval over your entire illustration. Erase all the dots that fall outside of the oval.
- Delete your sketching layers.
- Turn on the Drawing Grid (for this next step).
- Select all your layers, click on the Select tool, and then resize your illustration to better accommodate the space.
- All done!
How to Draw: Botanical Illustrations in Procreate
Did you enjoy this post? If so, please make sure to check out a few of my other art tutorials! Can’t wait to see you again!