How to Create an Embroidery Pattern Using an Image
Use this easy tutorial to learn how to create and transfer a custom embroidery pattern using any printable image for an endless supply of patterns.
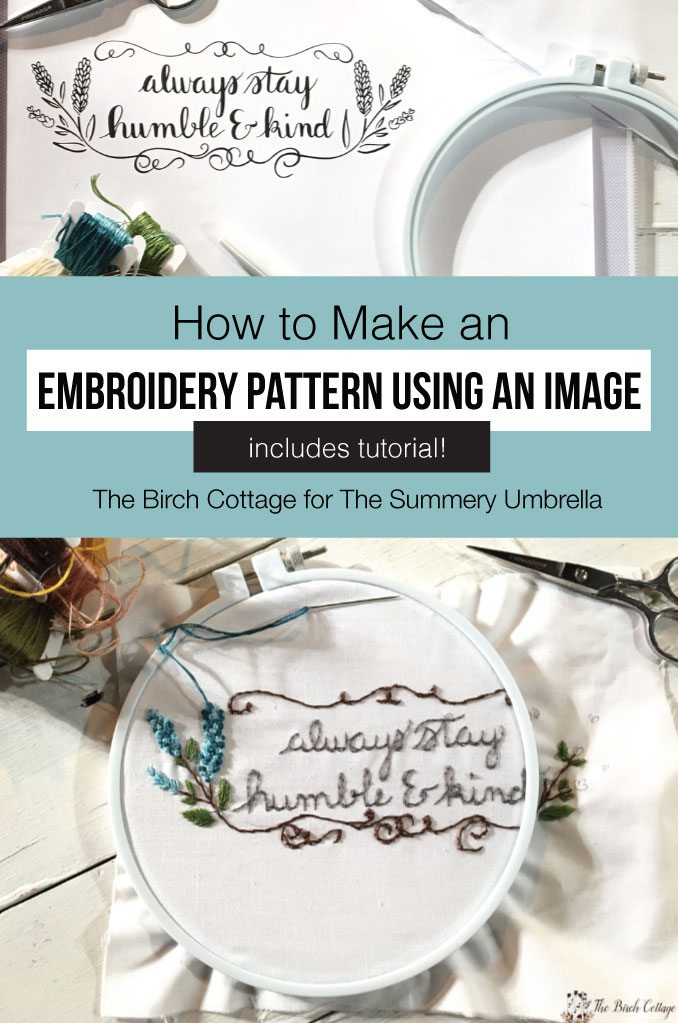
Hi, Summery Umbrella readers! I’m so excited to share yet another DIY project with you. My name is Pam and I blog at The Birch Cottage, where I share family friendly creative ideas for a handmade home. Today I want to show you just how easy it is to create an embroidery pattern using an image like the beautiful “Always Stay Humble and Kind” image that LZ drew.
The really cool thing about this little DIY project is that you can literally use any image to create a custom embroidery pattern. Let’s take a look at what’s involved, shall we?
Create and Transfer an Embroidery Pattern Using an Image
If you already know how to do hand embroidery, then this tutorial is gonna be really easy for you to follow. If you don’t know how to do hand embroidery, maybe it’s time for you to learn? There are many great online tutorials as well as classes at your local craft or sewing stores.
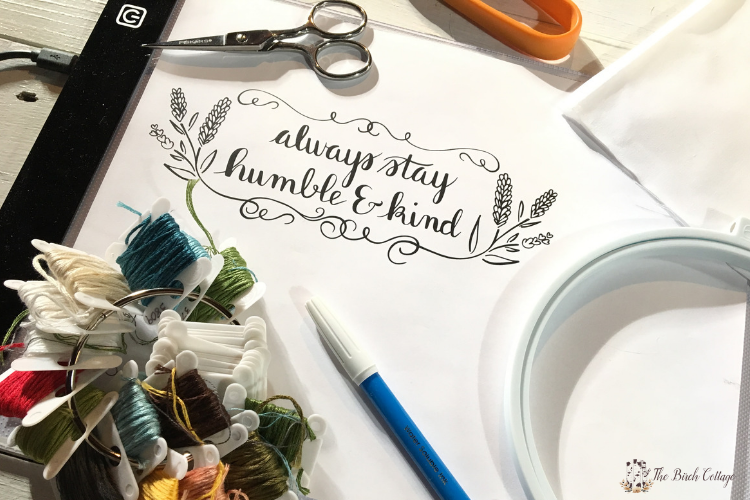
There are just a few supplies you’ll want to have on hand before you begin to create your very own embroidery pattern using an image.
Supplies:
- Always Stay Humble and Kind image file
- Printer and printer paper
- Light pad
- Black marker
- Fabric marking pen
- Fabric
Instructions:
1. Download the Image File
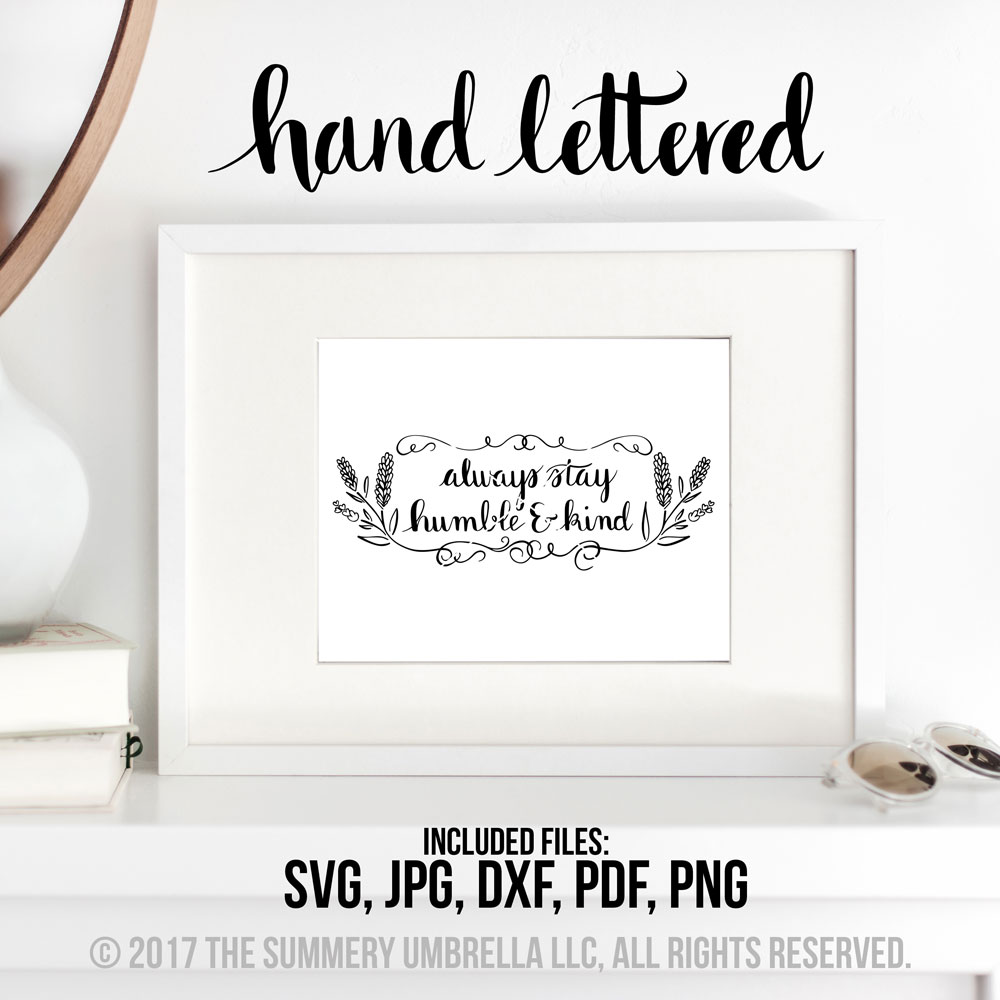
For the purpose of today’s tutorial, I am using the Always Stay Humble & Kind image. You could, of course, use any image you want or create your own embroidery pattern. Simply download the image and save to your computer.
2. Print the Image
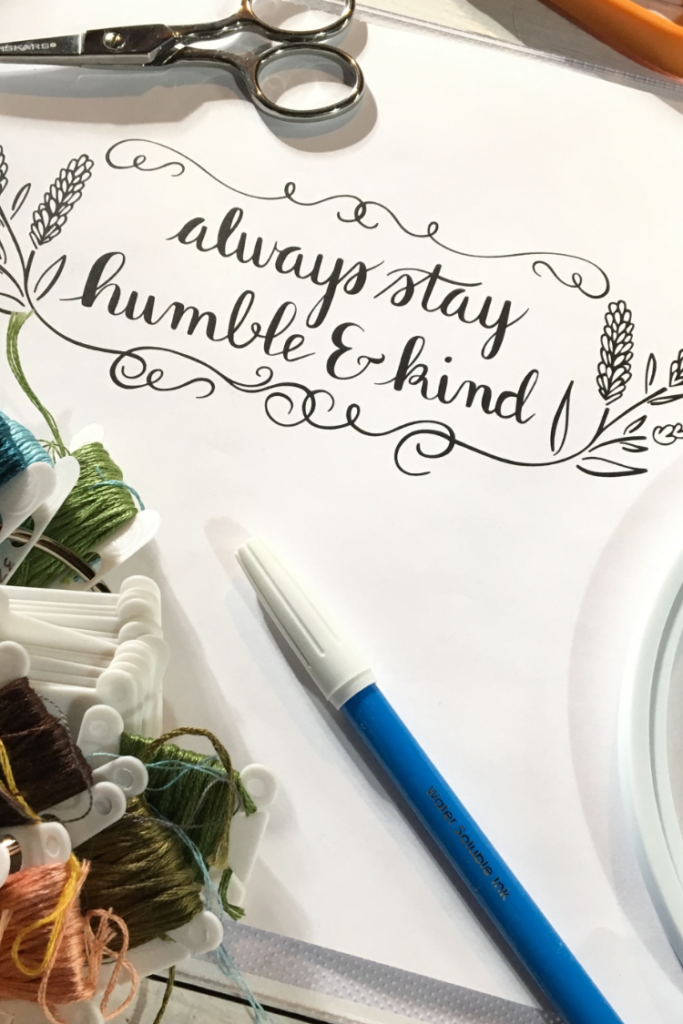
Depending on how big or small you want your pattern to be, you may want to select to print the image at 50%, 80% or 110%. I chose to print my image at 80% of the actual size.
3. Trace the Image
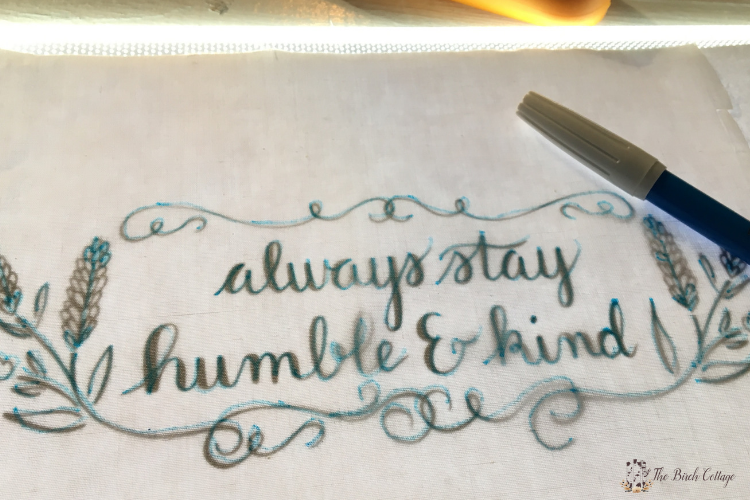
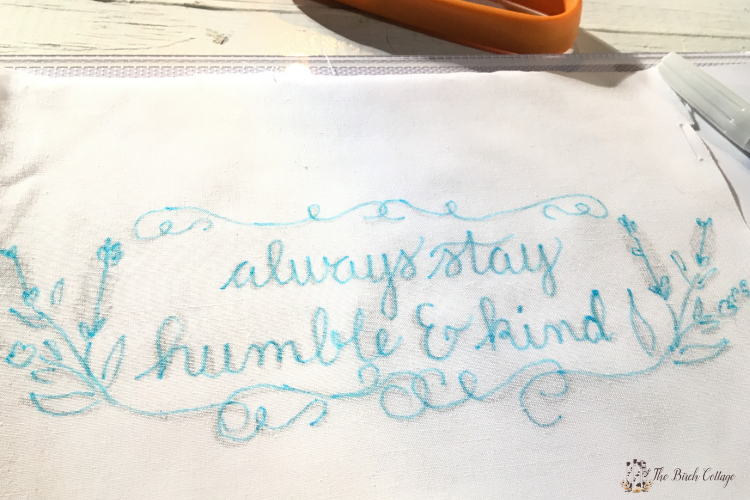
Once you have your image downloaded and printed to size, you’ll be ready to trace your image onto your fabric. You have a lot of options when it comes to the pen or what you use to trace your image. I really like these pens, but you could even use a pencil.
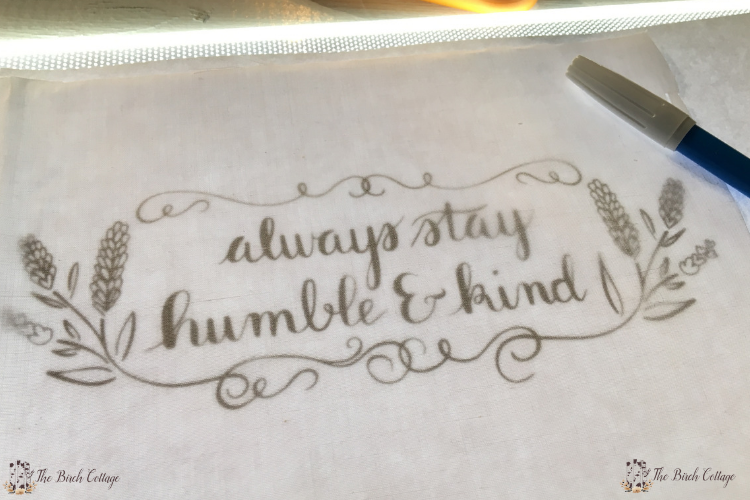
If any areas are too light, just use an ultra fine permanent marker to trace over those areas. Then place the printed image on top of your light pad and turn it on. Lay your fabric on top of the printed image, taking care to line it up exactly where you want to embroider your image. Applying light pressure, trace your image.
4. Ready to Embroider
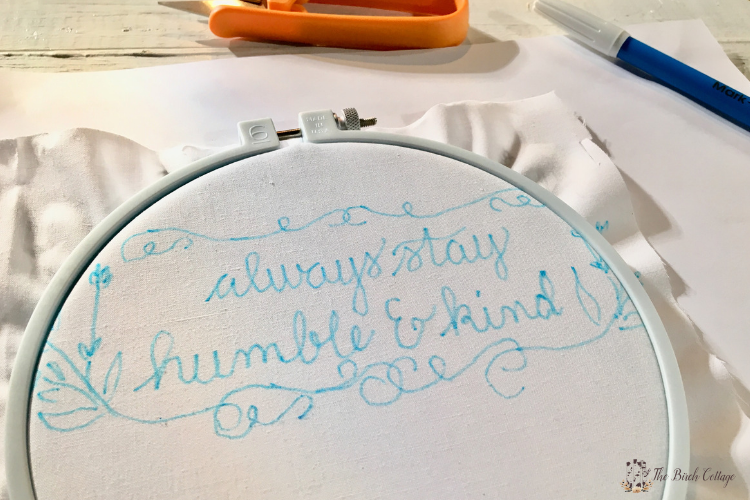
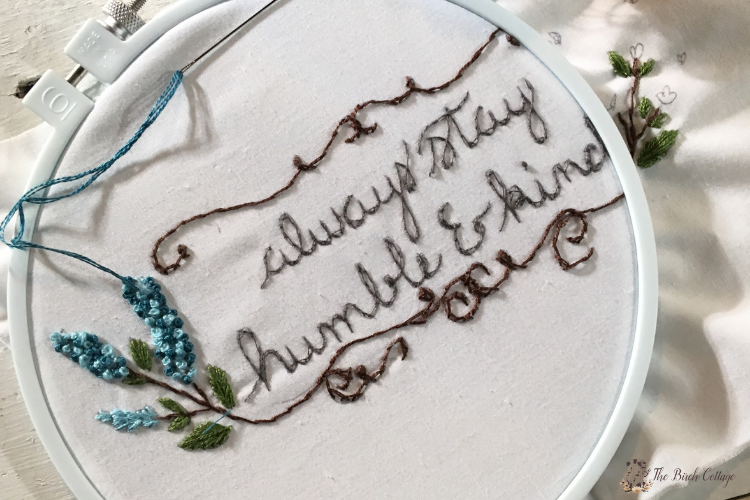
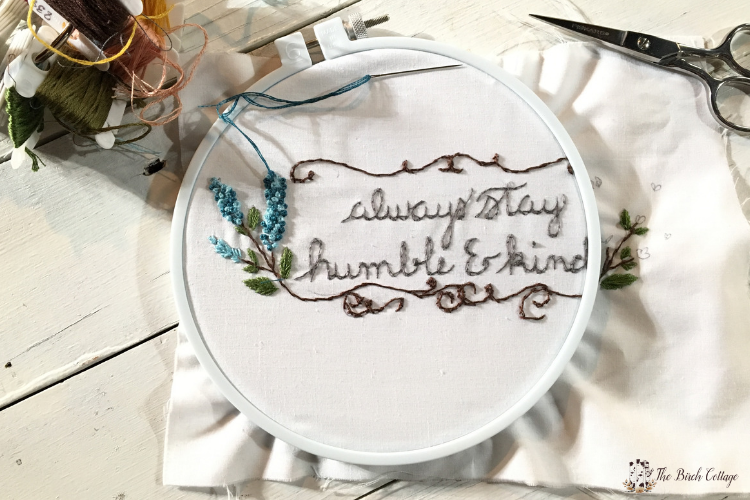
Now that you have your image all traced onto your fabric, you’re ready to place your design in your embroidery hoop and begin the fun part of customizing the embroidery pattern you created.
More Tutorials
I hope you enjoyed this little tutorial on how to create an embroidery pattern using an image. It really is fun to turn little hand drawings into hand embroidery projects. If you liked this tutorial, you might also like these tutorials from The Birch Cottage blog:
Learn to Crochet the Moss Stitch
Don’t forget to check out a few of these ideas too!
I hope you enjoyed this tutorial. If you have any questions, or you give this project a try and create your own embroidery pattern, feel free to leave a comment below!
